
 |
| Photo courtesy of Kira Cooks |
Showing posts with label Wheat. Show all posts
Showing posts with label Wheat. Show all posts
Thursday, July 21, 2011
Light Chicken Souvlaki
Friday, June 17, 2011
Food Storage Friday::Fiesta Wheat and Bean Salad/Salsa
I just went to a class this past week that discussed food storage and more specifically the use of wheat and beans in your storage. It may sound like I'm up on a "soap box" but I firmly believe that we need to get our food storage ready. Whenever I turn on the news, which is not often, I'm hearing about another major disaster of some sort. Now I'm not saying, just get whatever so you have something on hand, but get what your family eats in store-able bulk. I've slowly been working on incorporating this into my meal planning and grocery shopping. I started using coupons to make this affordable, too. One way I've made this goal affordable is incorporating WHEAT into our diets. For the past two years I've cooked and served wheat berries with SO many meals that it is now just a part of how I cook. My kids (ages 7 & 3) and hubby don't even notice the difference anymore. We're used to it. Which is how food storage should work. You should eat what you store and store what you eat. Then when something major does happen and you need to dive into your supply (which I've already had to do in the months we are super tight on funds so it's not just for major disaster use, either) your family won't notice a difference!!!!
With that in mind, I want to try and incorporate more food storage worthy meals into our family diet than I already have been. As I discover more recipes and tricks and techniques, I will share here, on Food Storage Fridays.
 For my first Food Storage Friday, I'd like to remind you of a recipe I shared quite some time ago. It is THE best recipe to introduce you into the world of wheat berries, if you're not familiar. I have converted many friends with this recipe. I'd love to add you to this list! :) It is one of the most perfectly delicious, eye opening recipes you can make using the wheat from your food storage. It will amaze even the non-believers into using their wheat, and/or getting wheat incorporated into their life. I can't wait to hear what you think about it, too!!!!
{wheat berries}
**See NOTE at the end.
4 c. raw whole wheat
10 c. water
1 T. salt
Oil a large (4 quart or larger) slow cooker and fill with wheat, water, and salt. Cover and cook on low all night, 8-10 hours. Cooked wheat may be bagged and stored in the refrigerator for at least a week or in the freezer for months. A sandwich bag will hold 2 cups.
Once you have a small supply of cooked wheat berries prepared, try experimenting with adding a cup to your favorite soups, chicken salads, or casseroles. When combined with regular white rice it makes a very simple—but healthy—pilaf. I've been adding these wheat berries to EVERYTHING. We enjoy them most in taco meat. They hardly notice the difference and I can save so much money using 1/2 wheat 1/2 meat. It's GREAT!
***NOTE: You can't actually buy the wheat berries, you have to cook the dried/raw wheat grains to make them into the wheat berries. A lot of places carry the wheat grains. Maceys, Harmons, Walmart, Costco, Sams, etc. You just need to look in the food storage section of their stores (baking at costco/sams). The problem with these places is they usually sell the big 25-50 lb buckets. If you're not sure if you're going to like the wheat berries, you will want to get a #10 can first. You can get the cans from any LDS Dry Pack Cannery. You will just want to call ahead to see if they have any extra single cans for purchase (they usually do). Anyone can go in there and purchase a single can and/or use the machines to pack your own food storage items.
This link shows the single-can prices.
This link shows locations in UT.
With that in mind, I want to try and incorporate more food storage worthy meals into our family diet than I already have been. As I discover more recipes and tricks and techniques, I will share here, on Food Storage Fridays.

{wheat berries}
**See NOTE at the end.
4 c. raw whole wheat
10 c. water
1 T. salt
Oil a large (4 quart or larger) slow cooker and fill with wheat, water, and salt. Cover and cook on low all night, 8-10 hours. Cooked wheat may be bagged and stored in the refrigerator for at least a week or in the freezer for months. A sandwich bag will hold 2 cups.
Once you have a small supply of cooked wheat berries prepared, try experimenting with adding a cup to your favorite soups, chicken salads, or casseroles. When combined with regular white rice it makes a very simple—but healthy—pilaf. I've been adding these wheat berries to EVERYTHING. We enjoy them most in taco meat. They hardly notice the difference and I can save so much money using 1/2 wheat 1/2 meat. It's GREAT!
***NOTE: You can't actually buy the wheat berries, you have to cook the dried/raw wheat grains to make them into the wheat berries. A lot of places carry the wheat grains. Maceys, Harmons, Walmart, Costco, Sams, etc. You just need to look in the food storage section of their stores (baking at costco/sams). The problem with these places is they usually sell the big 25-50 lb buckets. If you're not sure if you're going to like the wheat berries, you will want to get a #10 can first. You can get the cans from any LDS Dry Pack Cannery. You will just want to call ahead to see if they have any extra single cans for purchase (they usually do). Anyone can go in there and purchase a single can and/or use the machines to pack your own food storage items.
This link shows the single-can prices.
This link shows locations in UT.
Tuesday, February 1, 2011
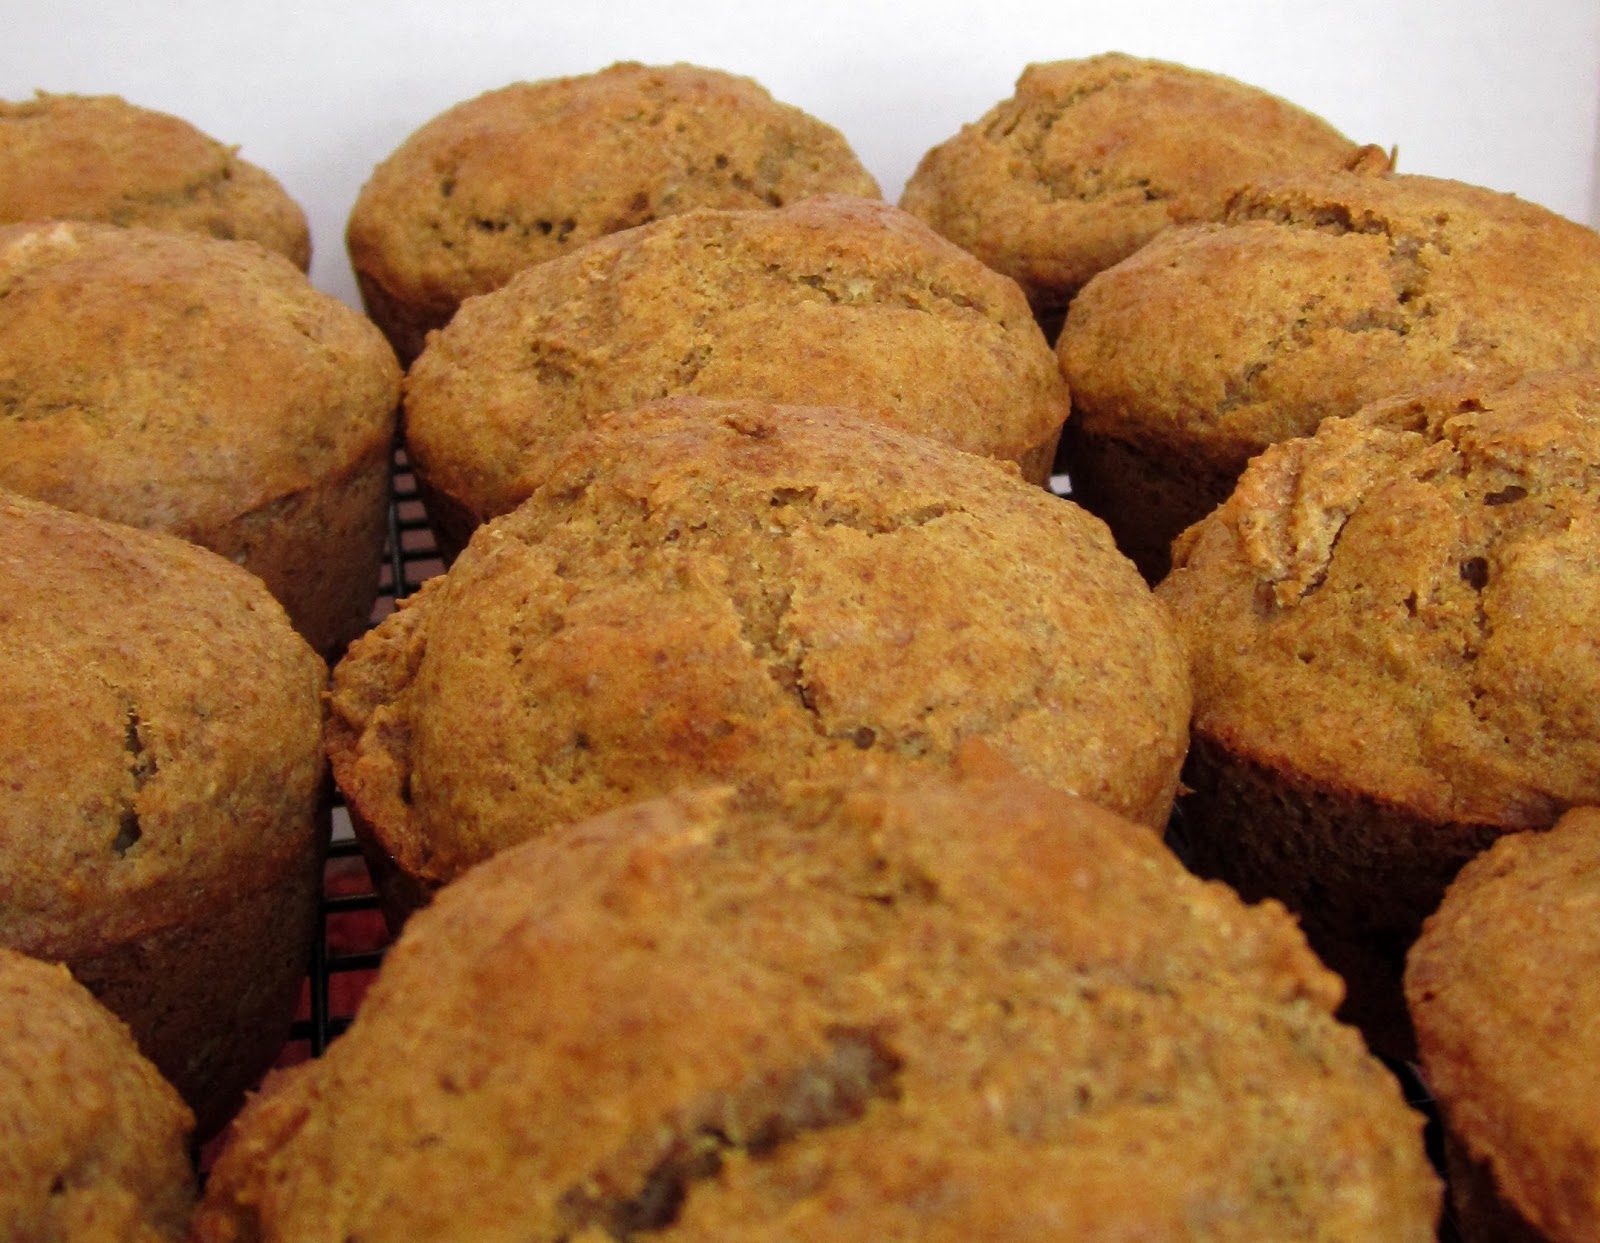
TWD::Grain Muffins, well sort-of

It's actually a 6-Week Whole Wheat Bran Muffin. Why 6 weeks, you ask? Well, once all combined, the batter for this recipe can sit in your fridge, covered for up to SIX weeks! HOLY COW! I know! Is that not the craziest!? Since the recipe makes a healthy 60 muffins, you might just want to bake them fresh each time.

Or, You could be like me and spend all morning in the kitchen baking muffins, and everything else under the sun, just so you can get the baking part over with. Besides, they freeze really well and taste absolutely INCREDIBLE reheated and slathered with butter. Then again, doesn't EVERYTHING taste amazing with butter!? Yeah. Butter. It's one of my favorite toppings. If you don't want to add butter, don't fret. Your favorite jelly spread or plain is just as incredible! My kids even love them and will snack on them instead of junk!!!
recipe from Kira at Kira Cooks
2 cups water
4 cups whole bran cereal (all-bran)
Boil the water, then combine with the whole bran cereal in a large bowl. Sit for 5 min to allow the bran to soak up the water and soften.
In the meantime, Combine:
1 cup oil
1 cup sugar
add:
4 eggs, beaten
1 quart low fat buttermilk
then add:
2 cups 40% bran flakes (I buy the cheap wal-mart bran flakes)
the soaking whole bran cereal1 Tbsp salt
5 tsp baking soda
3 cups flour
2 cups whole wheat flour (if you want to do all whole wheat only do about 4 3/4 total since wheat is "thirstier")
Raisins (optional, but add just before baking)
Stir together until just combined. Bake 400 degrees for 15 to 20 minutes (mine always take the 20).
This recipe makes 60.
Also, don't forget to check out the TWD Blogroll to see how all the other bakers fared with their muffins this week!
Sunday, March 14, 2010
The story of "Sweet & Sour Chicken", A Freezer Meal

Long ago in a far away land, I was introduced to the world of Freezer Meals. Yes, it didn't take much to pull me in, but it has been a wonderfully rewarding journey ever since. Right now, I'm on a quest to find and create more and more freezer-worthy meals that my family not just likes, but LOVES. This is a new love.
Sweet and Sour Chicken from the book, "Dinner Is Ready" by Deanna Buxton. The main recipe can serve 6-8, I doubled it. It gave my family of four enough for dinner that night, two left over containers PLUS Two gallon freezer bags filled with dinner for two more nights. LOVE IT! Now, I know this looks like a rainbow just landed on our plate...just in time for St. Patrick's Day, but I promise you, if you follow the recipe, it won't look nearly this colorful...unless you WANT it to. I bought a big bag of sweet peppers at Costco and wanted to use them up...as well as a couple of red onions. It sure does look pur-ty, though.
Sweet & Sour Chicken
4 boneless, skinless chicken breast halves
1T. Oil
1 carrot, sliced
1 clove garlic, minced
1 c. sugar
1/4 c. cornstarch
1 1/3 c. water
3 T. Oil
2/3 c. vinegar
1/4 c. soy sauce
1 onion, chunked
1/2 red bell pepper, chunked
1/2 green bell pepper, chunked
1 small can pineapple chunks
Cut Chicken in 1 inch cubes. Saute in oil with carrot and garlic until no longer pink. Remove from heat and allow to cool. Combine sugar and cornstarch in saucepan. Stir in water. Add oil, vinegar and soy sauce. Cook and stir until thick and clear. Remove from heat. Stir together chicken, sauce, vegetables and pineapple. Allow to cool. Place in gallon freezer bag. Label and freeze.
To Serve: Thaw. Heat until hot and bubbly. Serve over hot rice (mixed with cooked wheat berries if you dare!).
TIP - Rice freezes really well. Make a big batch and separate it out into meal-sized portions so you can just grab a bag in the morning to thaw in the fridge and then reheat in the microwave...poof! Easy!

Monday, March 1, 2010
Quick Chicken a la King

 This recipe comes from that cookbook I love called "Remedies for the I Don't Cook Syndrome" by Janet Peterson. It's fast and easy and the best part is it tastes DELICIOUS! It's definitely a food storage worthy meal too. You can't see the chicken too easily in this photo because I've used my pre-cooked shredded chicken breasts (an idea I got from my bestest friend, Kira), but you can't miss the flavor. It just saves oodles of prep time.
 Another time saver I use is having both my onions and bell peppers already pre-diced and in baggies in the freezer. I just pull out what I need for my recipe, toss into the pan and cook 'em up. You'd never know the difference. Toss...Toss...toss..and poof! You're done in 15 min or less.
Maybe you're also wondering about what those little darker brown balls are in my rice? Cooked Wheat Berries! I ALWAYS have some ready-cooked on hand in the freezer and toss them into just about everything. Seriously. I LOVE adding them to my rice meals, too. 1/2 Rice 1/2 Wheat Berries. Not only delicious but a real money saver since I just pull out my food storage!
QUICK CHICKEN A LA KING
1/4 c. chopped onion
2 Tbsp. butter
2 Tbsp. flour
1 (10 3/4-oz) can cream of mushroom soup
1 c. Milk
1 1/2 c. cooked diced chicken or turkey
1 ( 4 oz.) can sliced mushrooms or 1/2 c. sliced fresh mushrooms
2 Tbsp. chopped pimiento (I HATE these and never add, but you can)
1/3 c. chopped green pepper
1/2 c. sour cream
Salt & Pepper to taste
Salt & Pepper to taste
In a large skillet, saute onion in butter until limp but not brown. Add flour. In a small bowl, blend soup and milk. Add to onion mixture. Cook and stir until thickened. Add chicken or turkey, mushrooms, pimiento, and green pepper. Heat but do not boil. Add sour cream. Serve over rice, biscuits or toast.
Serves 6.
Friday, February 5, 2010
Chipotle Bean Burritos

Photo courtesy of Cooking Light Magazine
I made this recipe for my family a couple of weeks ago for dinner one night. We were AMAZED at how absolutely delicious it was...and FAST to prepare!! A bit like refried beans "gourmified" and deliciously fancy. The seasonings are incredibly flavorful and spicy. My kids LOVE beans, as do my hubby and I so this was perfect! Another great thing about it is that it's vegetarian! We saved money on meat by just using the beans (though this seasoning combination would be fantastic with taco meat!). We could have saved more money if I could take a few extra minutes planning the day before and cooked dry beans in my crockpot, but we all know how hard it is to plan ahead sometimes. I even threw in some of my cooked wheat berries for good measure and to make the bean mix stretch a bit.
The original recipe says it serves 6, but that is being too generous. I'd say it's more like 4 adults. So if you're planning on having any leftovers, make double. You'll be glad you did!!!
Chipotle Bean Burritos
Total Time: 30 minutesYield: 4 servings (serving size: 1 burrito)
Ingredients
1 tablespoon canola oil
1 garlic clove, minced
1/2 teaspoon chipotle chile powder
1/4 teaspoon salt
1/3 cup water
1 (15-ounce) can black beans, drained
1 (15-ounce) can kidney beans, drained
3 tablespoons refrigerated fresh salsa
6 (10-inch) flour tortillas (such as Mission)
1 cup (4 ounces) preshredded 4-cheese Mexican blend cheese
1 1/2 cups chopped plum tomato (about 3)
1 1/2 cups shredded romaine lettuce
6 tablespoons thinly sliced green onions
6 tablespoons light sour cream
Preparation
1. Heat oil in a large nonstick skillet over medium heat. Add garlic to pan; cook 1 minute, stirring frequently. Stir in chile powder and salt; cook 30 seconds, stirring constantly. Stir in 1/3 cup water and beans; bring to a boil. Reduce heat, and simmer 10 minutes. Remove from heat; stir in salsa. Partially mash bean mixture with a fork.
2. Warm tortillas according to package directions. Spoon about 1/3 cup bean mixture into center of each tortilla. Top each serving with about 2 1/2 tablespoons cheese, 1/4 cup tomato, 1/4 cup lettuce, 1 tablespoon onions, and 1 tablespoon sour cream; roll up.
Maureen Callahan, Cooking Light, JANUARY 2010
Monday, January 4, 2010
Fiesta Wheat and Bean Salad/Salsa

So for this post, I want to introduce you to this book, "I Dare You to Eat It" by Liesa Card since it also contains one of our FAVORITE family recipes.
My kids GOBBLE up this salad/salsa, literally. They'll sit for a long time just enjoying this "salad" while I sit back and enjoy knowing all the good healthy food they're eating. They don't even notice all the peppers and spend time picking them out like they do in ALL other recipes...that in itself is AMAZING!
So I MUST share!
First you have to start with cooked wheat berries **See NOTE at the end. Here's the recipe (pulled directly from the site):
4 c. raw whole wheat
10 c. water
1 T. salt
Oil a large (4 quart or larger) slow cooker and fill with wheat, water, and salt. Cover and cook on low all night, 8-10 hours. Cooked wheat may be bagged and stored in the refrigerator for at least a week or in the freezer for months. A sandwich bag will hold 2 cups.
Once you have a small supply of cooked wheat berries prepared, try experimenting with adding a cup to your favorite soups, chicken salads, or casseroles. When combined with regular white rice it makes a very simple—but healthy—pilaf. I've been adding these wheat berries to EVERYTHING. We enjoy them most in taco meat. They hardly notice the difference and I can save so much money using 1/2 wheat 1/2 meat. It's GREAT!

Fresh Ingredients
1 orange or red pepper, diced
1 green pepper, diced
1 small red onion, diced
1 bunch fresh cilantro, leaves chopped
1 small jalapeno pepper, cored and diced
juice of 1 lime
Storage Ingredients
3 c. cooked wheat berries
1 can corn, drained (16 oz.)
1 can black beans, drained (15 oz.)
2 tsp. chili powder
2 tsp. ground cumin
1/4 c. cider vinegar
1 T. sugar
1/2 c. vegetable oil
1 tsp. salt
Combine all ingredients in a bowl and toss well. Chill for at least 1 hour before serving.
Message directly from the Author, Liesa Card:
"Here it is friends. This is my all time, best, #1, very favorite way to use the wheat from my long-term storage. Whenever I give food storage presentations I always suggest/beg/insist that this salsa be served with chips. Experience has proven that even non-believers are converted once they taste wheat prepared this way."
I'm a convert and proud of it! I hope you'll join me in the near future, too...
Here's to healthy provident living in 2010!
Happy New Year!
***NOTE: You can't actually buy the wheat berries, you have to cook the dried/raw wheat grains to make them into the wheat berries. A lot of places carry the wheat grains. Maceys, Harmons, Walmart, Costco, Sams, etc. You just need to look in the food storage section of their stores (baking at costco/sams). The problem with these places is they usually sell the big 25-50 lb buckets. If you're not sure if you're going to like the wheat berries, you will want to get a #10 can first. You can get the cans from any LDS Dry Pack Cannery. You will just want to call ahead to see if they have any extra single cans for purchase (they usually do). Anyone can go in there and purchase a single can and/or use the machines to pack your own food storage items.
This link shows the single-can prices.
This link shows locations in UT.
Friday, October 30, 2009
Hot Chicken and Wheat Casserole
Earlier this summer I picked up a book at my local Costco that I've been enjoying ever since. It's 1/4 cookbook and 3/4 food storage education. I'm really trying hard to incorporate my food storage into my regular meal plan so that should the need arise, we are already used to the food storage meals. That said, nothing I've tried so far is weird or disgusting in any way. In fact, we have been LOVING it!

One of my newest found favorites in the long-term food storage category is wheat. Now mind you, I don't own a wheat grinder and I still am loving this wheat! One of the great things this book has taught me is how to use my wheat in other ways than the standard bread recipes. I have a few I'll share over time, too.
First you need to know HOW to cook the wheat to make them into wheat berries.
Cooked Wheat Berries
4 c. raw whole wheat
10 c. water
1 T. salt
Oil a large (4Qt or larger) slow cooker and fill with wheat, water and salt. Cover and cook on low all night, 8-10 hours. Cooked wheat may be bagged and stored in the refridgerator for at least a week or in the freezer for months.
Okay, so with these wheat berries, I LOVE adding them to my taco meat to make the meat "stretch" and add that bit of fiber my family so desperately needs. I enjoy eating them in a bowl with a touch of sugar and milk as a cereal! Really, once you get to know how wonderful the cooked wheat berry is, you can come up with all kinds of ways to incorporate them into your every day life and you and your family will be all the healthier for it!
Hot Chicken and Wheat Casserole
1/2 c. butter, plus 2T. Butter, divided
1 c. celery diced
1 c. onion, diced
1 c. green pepper, diced
6 c. cooked wheat berries
2 cans chicken chunks, drained (12.5 oz.) - I used my pre-shredded chicken breasts I have on hand in the freezer. I got this incredible idea from Kira. Click HERE for info.
1 can cream of chicken soup
3/4 c. mayo
1 can sliced water chestnuts, drained (I omitted)
1 c. breadcrumbs
Saute diced fresh veggies in 1/2 c. butter until they are partially cooked adn color brightens. Add wheat berries, drained chicken, soup, mayo, and water chestnuts. Stir to combine. Pour mix into an oiled 9x13 pan and sprinkle top with breadcrumbs that have been combined with the 2T melted butter. Bake 350 degrees F for 45 minutes.
Subscribe to:
Posts (Atom)


